Pumpkin Pie Rice Krispie Treats Easy Recipe
Pumpkin Pie Rice Krispie Treats capture the essence of fall in a chewy, crispy form. These aren’t your average Rice Krispie treats. We’re infusing them with the cozy, comforting flavors of pumpkin pie, making them a perfect treat for fall gatherings, holidays, or just when you’re craving something a little special. The key to getting that authentic pumpkin pie taste without the actual pie is the combination of pumpkin pie spice and a touch of orange food coloring to give them that characteristic hue. We’re essentially creating a two-part process to ensure the flavor is well-distributed and the texture is just right. They offer a delightful twist on a classic dessert, bringing together the nostalgic crunch of Rice Krispies with the warm, inviting spices of a freshly baked pumpkin pie. Everyone loves a good Rice Krispie treat, and adding these seasonal flavors makes them an instant hit for parties or an afternoon snack.
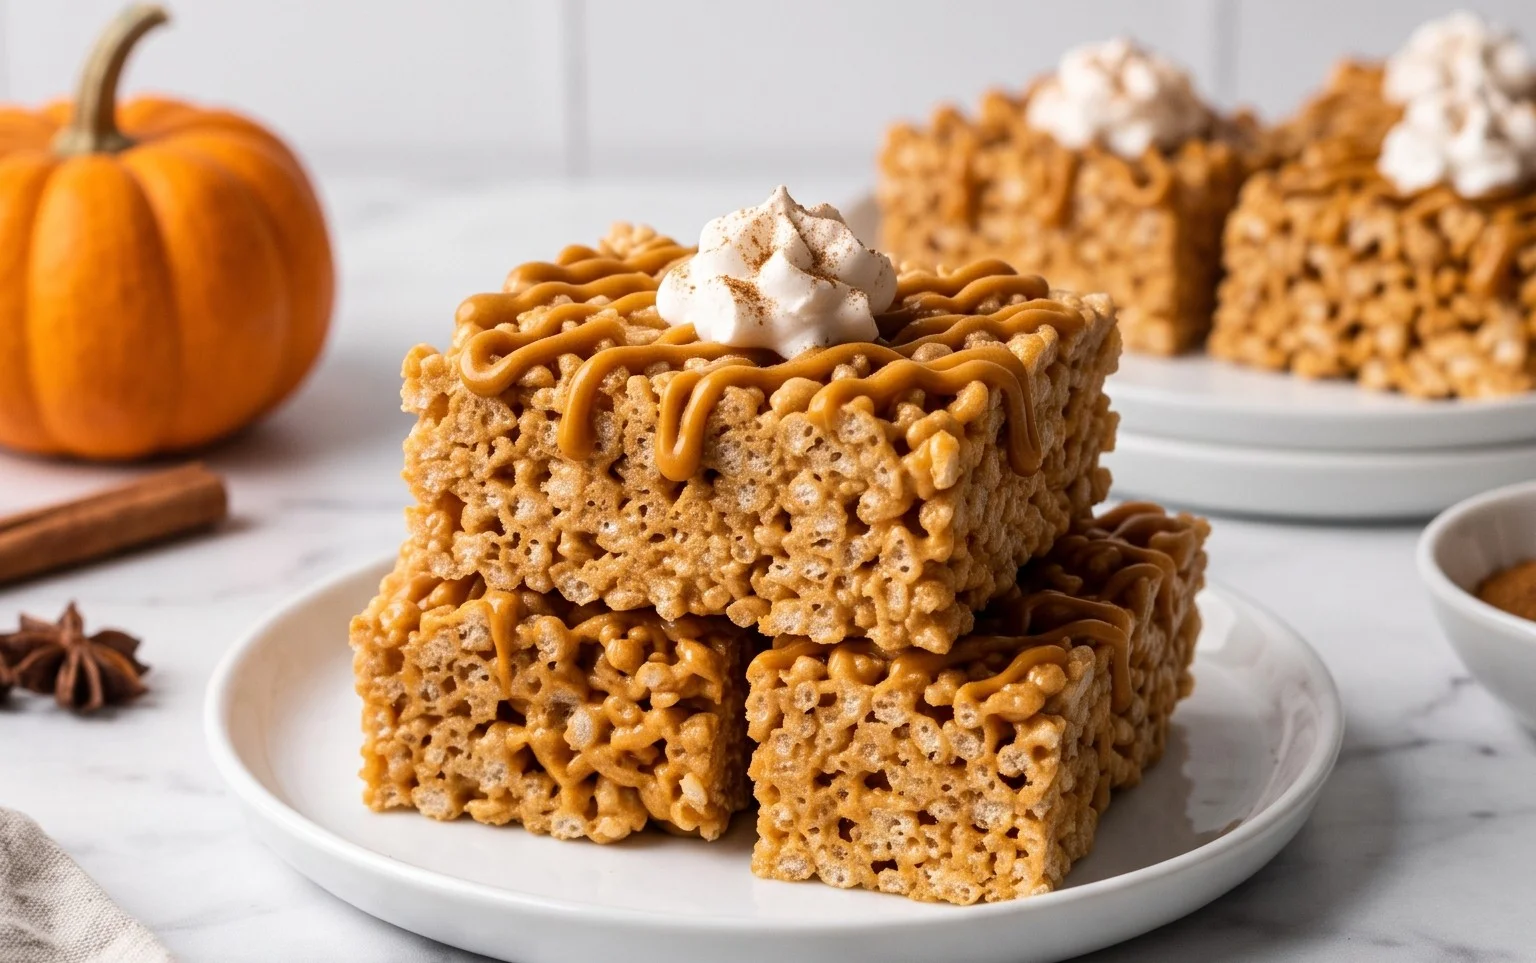
Ingredients:
- 7 cups (300g) mini marshmallows
- 6 Tbsp (86g) butter
- 6 cups rice krispies
- 3 ½ cups (150g) mini marshmallows
- 3 Tbsp (43g) butter
- 1 tsp pumpkin pie spice
- 3 cups rice krispies
- Orange gel food coloring
- Cool Whip or whipped cream (for topping)
Making the Pumpkin Pie Rice Krispie Treats
These aren’t your average Rice Krispie treats. We’re infusing them with the cozy, comforting flavors of pumpkin pie, making them a perfect treat for fall gatherings, holidays, or just when you’re craving something a little special. The key to getting that authentic pumpkin pie taste without the actual pie is the combination of pumpkin pie spice and a touch of orange food coloring to give them that characteristic hue. We’re essentially creating a two-part process to ensure the flavor is well-distributed and the texture is just right.
Phase 1: The Marshmallow Base
To start, we need to melt our first batch of marshmallows and butter. Grab a large, non-stick saucepan or pot. Over medium-low heat, add 6 tablespoons of butter. Let it melt completely, making sure it doesn’t brown. Once the butter is liquid, add the first 7 cups of mini marshmallows. Keep stirring gently and continuously. This is important to prevent the marshmallows from scorching on the bottom of the pan. As the marshmallows melt, they will become smooth and gooey. You want them to be completely melted and uniform, with no lumps remaining. This will take a few minutes, so be patient and keep that heat low and steady.
Once the marshmallows are fully melted and smooth, remove the saucepan from the heat. This step is important to avoid overcooking the cereal later, which can make the treats tough. Now, it’s time to add the first measure of Rice Krispies. Gently fold in 6 cups of Rice Krispies cereal. Use a sturdy spatula to coat all the cereal pieces with the melted marshmallow mixture. Don’t overmix; just ensure everything is evenly coated.
Phase 2: Infusing the Pumpkin Pie Flavor
Now for the flavor magic. In a separate, smaller saucepan, melt the remaining 3 tablespoons of butter over low heat. Once melted, remove it from the heat and whisk in the 1 teaspoon of pumpkin pie spice. This allows the spice to bloom in the butter, releasing its wonderful aromas and flavors.
After the marshmallow mixture from Phase 1 has cooled slightly – just enough so it’s not piping hot, but still very pliable – we’ll incorporate this spiced butter mixture. Gently fold the spiced butter into the slightly cooled marshmallow and cereal mixture. Stir until the spiced butter is well distributed. This is also where we add the orange gel food coloring. Start with a few drops of the orange gel food coloring and stir it in until you achieve a nice pumpkin-orange shade. Gel food coloring is potent, so a little goes a long way. You can always add more if you want a deeper color. Stir thoroughly to ensure the color is even throughout the mixture.
Next, add the second measure of Rice Krispies – 3 cups this time. Again, gently fold in the cereal until it’s evenly coated. This second addition of cereal helps to create a slightly chewier, more satisfying texture, and ensures the flavor is distributed throughout.
Phase 3: Pressing and Setting
Prepare a 9×13 inch baking pan by lightly greasing it with butter or non-stick cooking spray, or lining it with parchment paper. Parchment paper makes for easy lifting and cleanup. Now, carefully transfer the Rice Krispie mixture into the prepared pan.
Using a buttered spatula or your hands (lightly buttered works best to prevent sticking), gently press the mixture evenly into the pan. Avoid pressing too hard, as this can make the treats dense and hard. You want a firm but yielding press. Work relatively quickly, as the marshmallow mixture will start to set as it cools. Once pressed evenly, let the treats sit at room temperature for at least 30 minutes to an hour to fully set. This allows the marshmallows to firm up properly, giving you nice, clean slices.
Serving and Storage
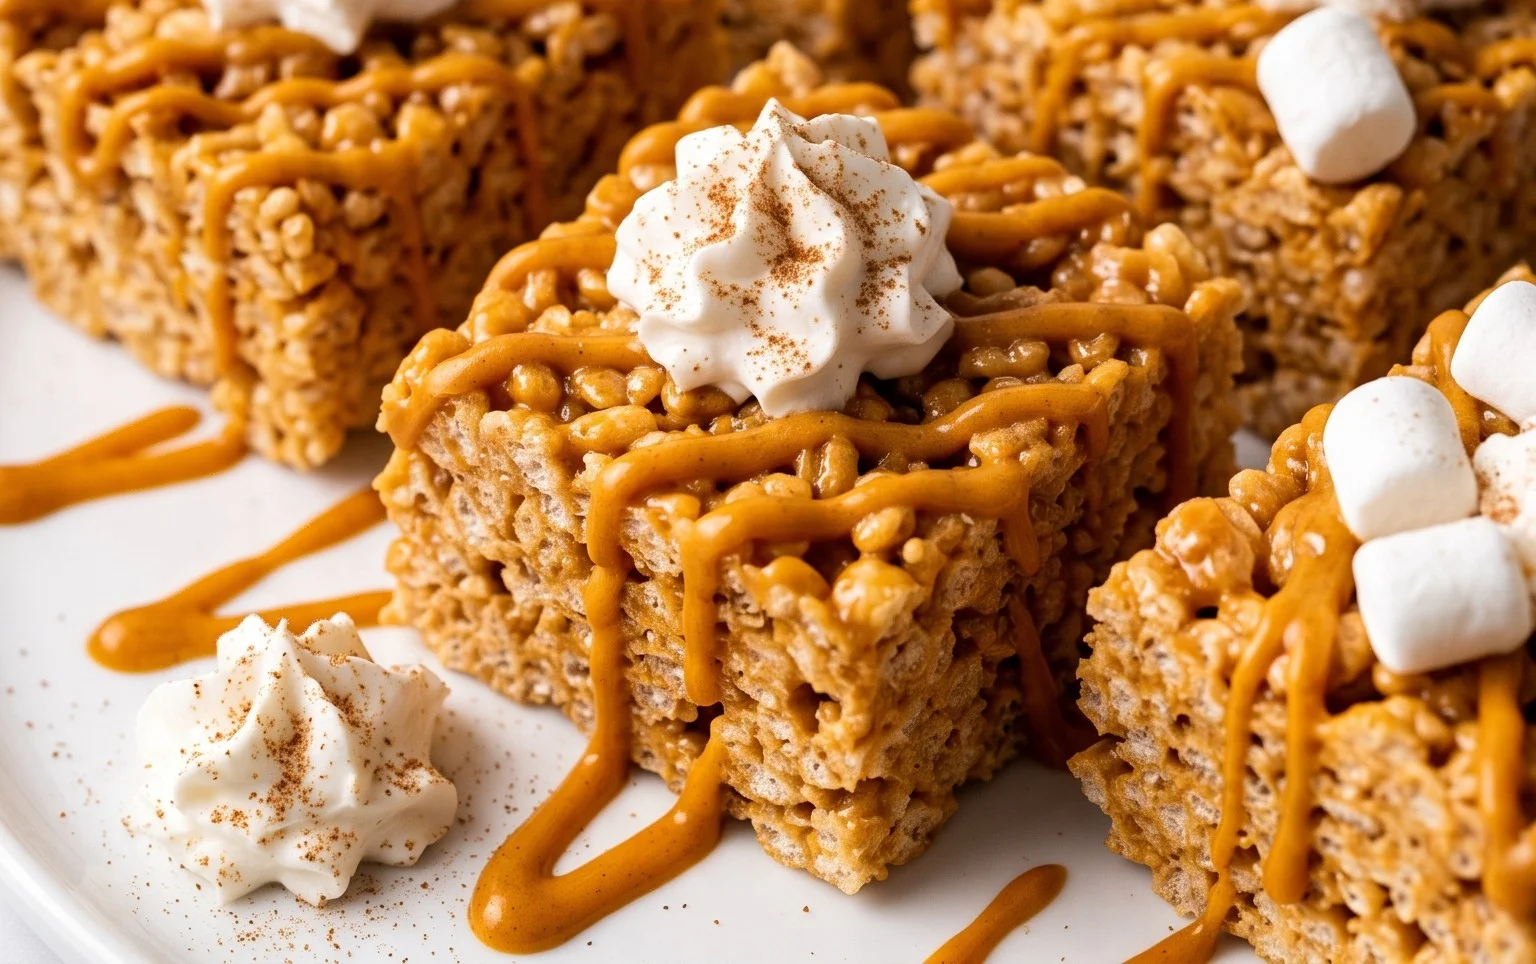
Once the pumpkin pie Rice Krispie treats are set, you can cut them into squares. For an extra special touch, top each square with a dollop of Cool Whip or homemade whipped cream, just like you would a slice of pumpkin pie. This adds a lovely creamy contrast to the chewy texture of the treats.
These treats are best enjoyed fresh, but they can be stored at room temperature in an airtight container for up to 3 days. If you stack them, placing parchment paper or wax paper between layers can prevent them from sticking together. Enjoy these delightful twists on a classic!
Conclusion:
You’ve now got the steps to create these delightful Pumpkin Pie Rice Krispie Treats. They offer a fantastic shortcut to fall flavors, delivering that warm spice without the need for an oven. The combination of melted marshmallows, crispy cereal, and that distinct pumpkin pie spice makes them wonderfully nostalgic and incredibly satisfying. They’re perfect for bake sales, Halloween parties, Thanksgiving dessert tables, or anytime you want a taste of autumn. Don’t be afraid to get creative with them! Consider adding a drizzle of white chocolate or a sprinkle of cinnamon sugar on top once they’ve set. These treats are best enjoyed within a few days of making them to maintain their signature crispness.
Frequently Asked Questions:
How do I store these treats?
Store your Pumpkin Pie Rice Krispie Treats in an airtight container at room temperature for up to 3 days. Avoid refrigeration, as this can make them hard and less chewy.
Can I use regular marshmallows instead of mini ones?
Yes, you can use jumbo marshmallows. You’ll need about 10-12 standard-sized marshmallows to equal the volume of 1 cup of mini marshmallows. Just make sure they are fully melted and smooth before adding the cereal.
What if I don’t have pumpkin pie spice?
If you don’t have pre-made pumpkin pie spice, you can create your own blend. Mix together 1 teaspoon each of ground cinnamon and ginger, 1/2 teaspoon of ground nutmeg, and 1/4 teaspoon of ground cloves. This mix will give you a similar warm spice flavor.
Pumpkin Pie Rice Krispie Treats
A festive and easy no-bake treat combining the classic flavors of pumpkin pie with the beloved texture of Rice Krispie treats. Perfect for fall gatherings or a sweet autumn indulgence.
Ingredients
-
7 cups (300g) mini marshmallows
-
6 Tbsp (86g) butter
-
6 cups rice krispies
-
3 ½ cups (150g) mini marshmallows
-
3 Tbsp (43g) butter
-
1 tsp pumpkin pie spice
-
orange gel food coloring
-
Cool Whip or Whipped Cream (for topping)
Instructions
-
Step 1
Grease a 9×13 inch baking pan or line it with parchment paper. In a large microwave-safe bowl, combine 7 cups of mini marshmallows and 6 tablespoons of butter. Microwave on high for 1 minute, then stir. Continue microwaving in 30-second intervals, stirring after each, until the marshmallows are completely melted and smooth. -
Step 2
Add the pumpkin pie spice to the melted marshmallow mixture and stir until well combined. Add a few drops of orange gel food coloring and stir until you achieve a desired pumpkin color. Add 6 cups of rice krispies cereal and stir until evenly coated. -
Step 3
Press the cereal mixture evenly into the prepared baking pan using a buttered spatula or your hands. -
Step 4
In a separate microwave-safe bowl, combine 3 ½ cups of mini marshmallows and 3 tablespoons of butter. Microwave on high for 1 minute, then stir. Continue microwaving in 30-second intervals, stirring after each, until completely melted and smooth. This will be your binding layer. -
Step 5
Gently spread this second marshmallow mixture over the pumpkin-colored layer in the pan. It doesn’t need to be perfect, as it will slightly blend with the bottom layer. -
Step 6
Add the remaining 3 cups of rice krispies cereal to the second melted marshmallow mixture and stir until evenly coated. Carefully spread this top layer over the binding layer in the pan. -
Step 7
Allow the treats to set for at least 30 minutes. Once firm, cut into squares. Serve topped with Cool Whip or whipped cream.
Important Information
Nutrition Facts (Per Serving)
It is important to consider this information as approximate and not to use it as definitive health advice.
Allergy Information
Please check ingredients for potential allergens and consult a health professional if in doubt.


