Easy Caramel Apple Dessert Cups Recipe
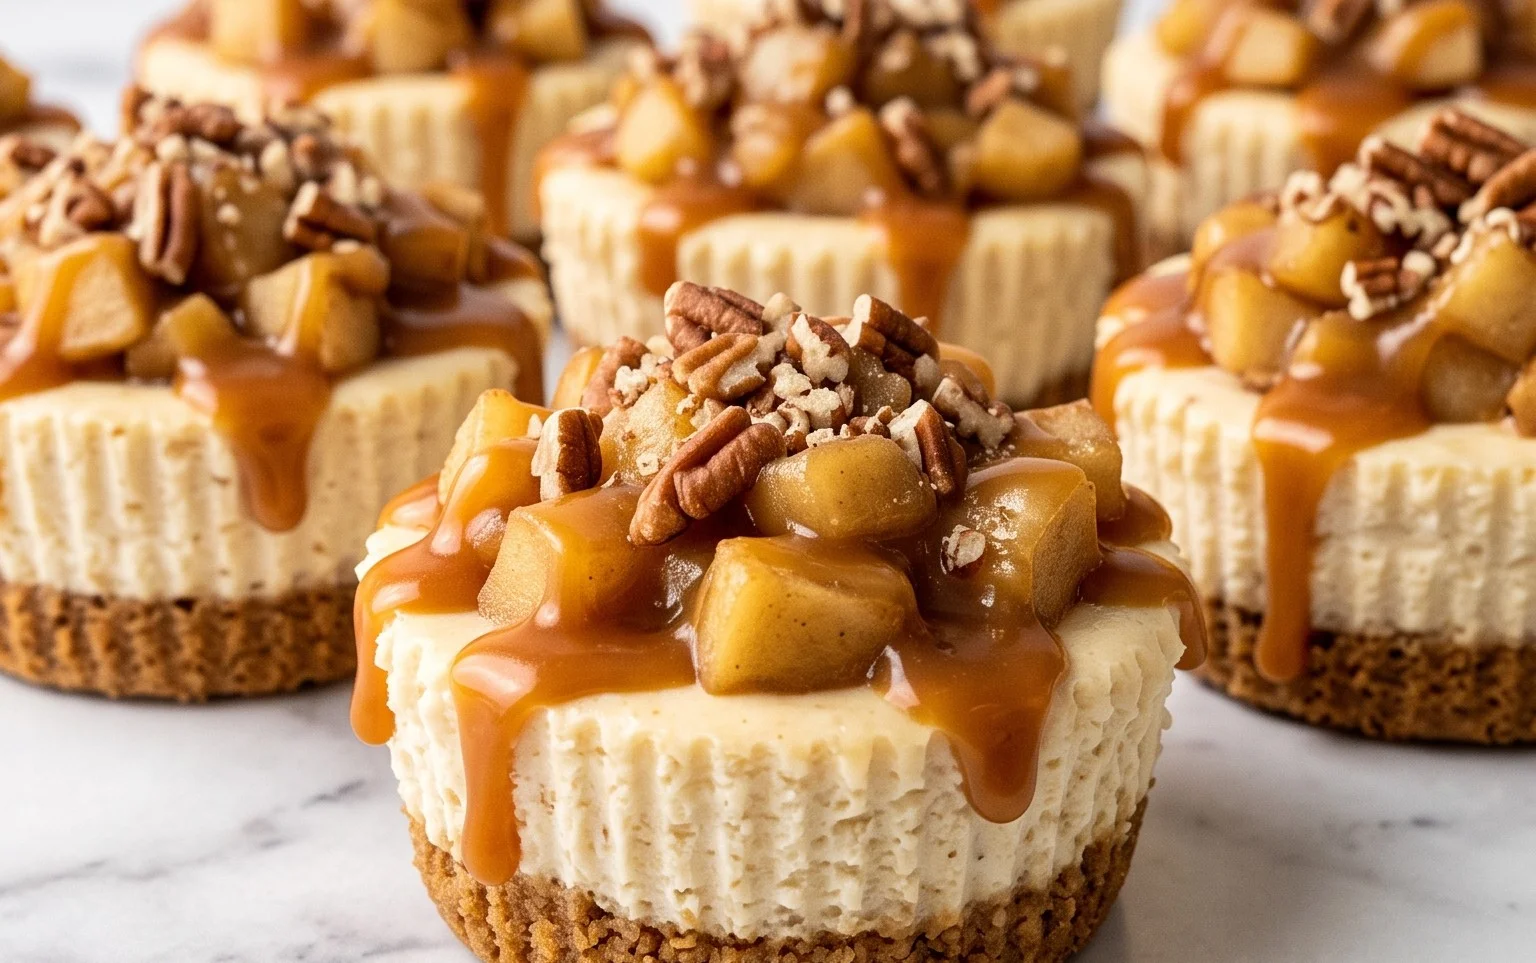
These Caramel Apple Dessert Cups are my go-to for a fall get-together or just when I’m craving something sweet and comforting. The best part is that they feel fancy enough for company but are surprisingly easy to whip up. We’re layering creamy vanilla pudding, tender spiced apples, a crunchy wafer crust, and a luscious caramel drizzle. It’s a perfect combination of textures and flavors that tastes like a hug in a cup. If you love the taste of baked apples and creamy desserts, this layered treat is sure to become a favorite. The combination of warm spices, sweet caramel, and cool pudding is irresistible, and the crunch from the wafer crust adds that perfect finishing touch. You can prepare most of the components ahead of time, making them ideal for entertaining.
Caramel Apple Dessert Cups
These Caramel Apple Dessert Cups are my go-to for a fall get-together or just when I’m craving something sweet and comforting. The best part is that they feel fancy enough for company but are surprisingly easy to whip up. We’re layering creamy vanilla pudding, tender spiced apples, a crunchy wafer crust, and a luscious caramel drizzle. It’s a perfect combination of textures and flavors that tastes like a hug in a cup.
Ingredients:
- 4 cups apples (peeled and chopped)
- ½ cup light brown sugar
- 1 tsp cinnamon
- 2 cups vanilla wafer crumbs
- ¼ cup salted or unsalted butter (melted)
- 1 pkg instant vanilla pudding mix (3.4 ounces)
- 1 cup milk
- ⅓ cup salted caramel sauce
- 1 ½ cups heavy cream
- additional caramel sauce for garnish
Instructions:
1. Prepare the Spiced Apples
First, we need to get those apples nice and tender with a hint of spice. Take your 4 cups of peeled and chopped apples and put them into a medium saucepan. Add the ½ cup of light brown sugar and 1 teaspoon of cinnamon. Give it all a good stir to coat the apple pieces. Now, place the saucepan over medium heat. You want to cook this, stirring occasionally, until the apples have softened. This usually takes about 10-15 minutes. They shouldn’t be mushy, but tender enough to eat with a spoon. As they cook, the sugar and cinnamon will create a lovely syrupy sauce. Once they are tender, remove the pan from the heat and let the apples cool down. This step is important because hot apples will melt the pudding layer prematurely.
2. Create the Vanilla Wafer Crust
For the base of our cups, we’re making a simple crust. In a medium bowl, combine the 2 cups of vanilla wafer crumbs and the ¼ cup of melted butter. If you don’t have vanilla wafer crumbs, you can easily make them by pulsing vanilla wafers in a food processor until finely ground, or by placing them in a zip-top bag and crushing them with a rolling pin. Mix the crumbs and butter together until they are evenly moistened and resemble damp sand. This mixture will hold together when pressed. You can use store-bought vanilla wafers or even graham crackers for a slightly different flavor profile, though vanilla wafers are classic here.
3. Make the Vanilla Pudding Layer
Next, we’ll prepare the creamy pudding. In a separate medium bowl, whisk together the 1 package of instant vanilla pudding mix and 1 cup of milk. Make sure to whisk thoroughly for about 2 minutes, until the pudding starts to thicken. Instant pudding is fantastic because it sets up quickly without any cooking required. Be sure to use cold milk; warm milk can prevent the pudding from setting properly. Let the pudding sit for about 5 minutes to fully thicken before you move on to the next step.
4. Whip the Heavy Cream
For a light and airy topping, we need to whip some cream. In a large, chilled bowl, pour in 1 ½ cups of heavy cream. You can use a hand mixer or a stand mixer for this. Start mixing on low speed and gradually increase to medium-high speed. Whip the cream until stiff peaks form. This means that when you lift the whisk or beaters, the cream will hold its shape and the peaks will stand straight up without curling over. Be careful not to over-whip, or you’ll end up with butter! Once the cream is whipped, gently fold in the ⅓ cup of salted caramel sauce. This adds a wonderful caramel flavor and a pretty swirl to our whipped cream.
5. Assemble the Dessert Cups
Now for the fun part – putting it all together! You can use individual serving glasses, small jars, or even clear plastic cups. Start by spooning a layer of the vanilla wafer crumb mixture into the bottom of each cup, pressing it down gently to form a base. Next, add a layer of the cooled spiced apples over the crust. Then, spoon a generous layer of the thickened vanilla pudding on top of the apples. Finally, top each cup with a dollop or swirl of the salted caramel whipped cream. For the final touch, drizzle a little extra salted caramel sauce over the top of each dessert cup. You can do this just before serving or let guests add their own.
These cups are best served chilled, so I like to let them sit in the refrigerator for at least 30 minutes before serving. This allows the flavors to meld together and ensures everything is nicely chilled. If you’re making them ahead for a party, you can assemble them up to a day in advance, but I would suggest adding the final caramel drizzle just before guests arrive so it looks its freshest. They are a delightful individual treat that everyone will love.
Conclusion:
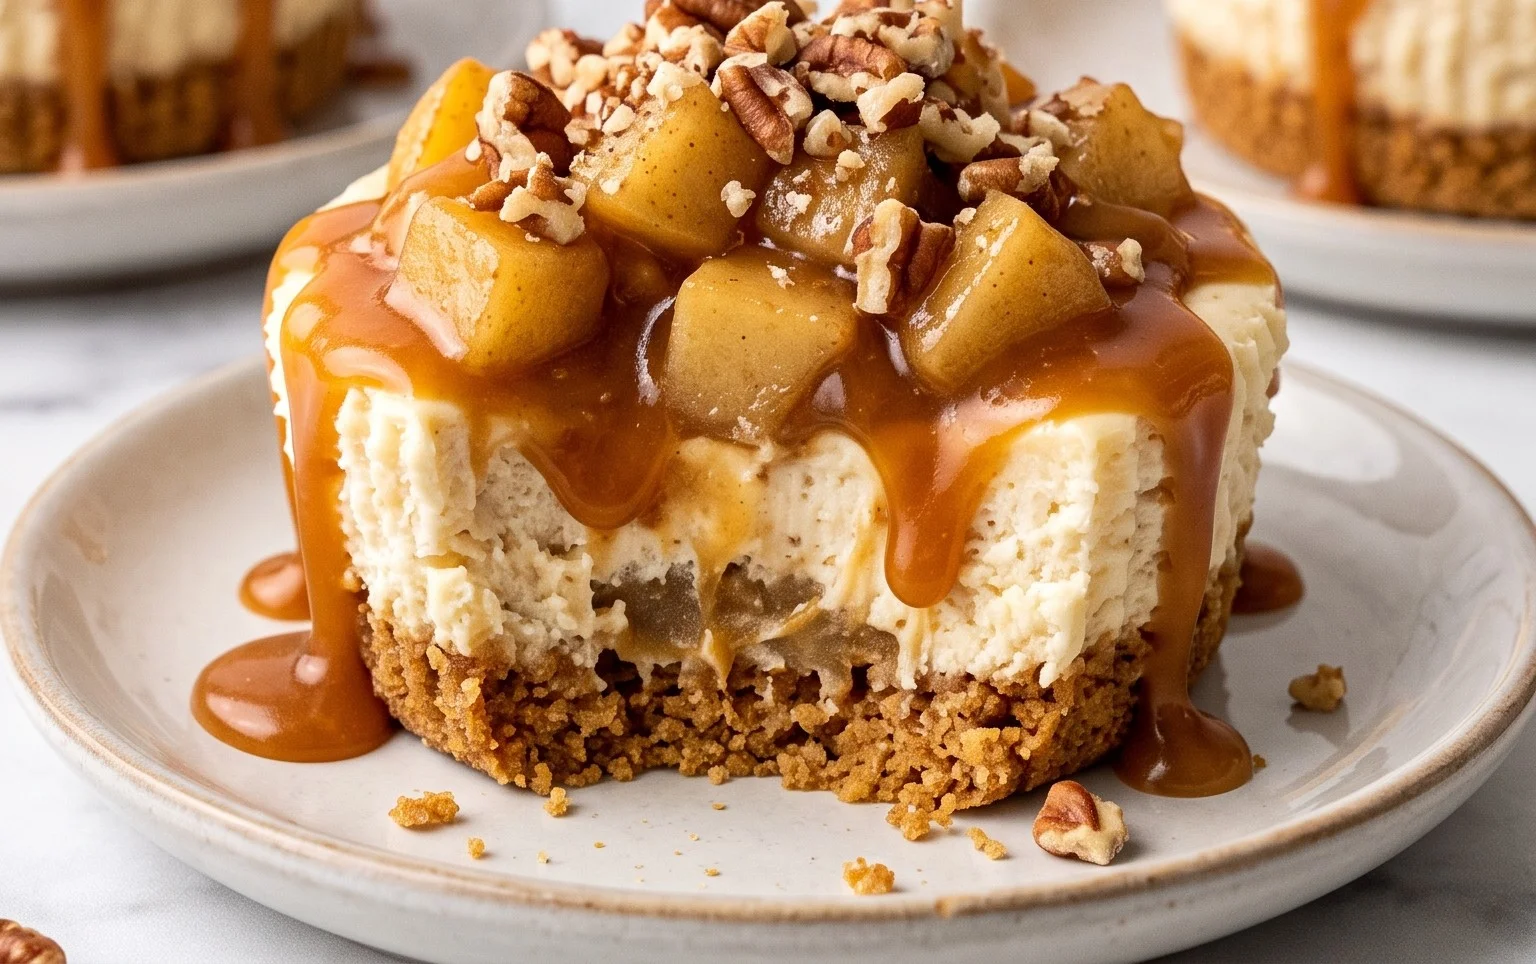
These Caramel Apple Dessert Cups are a fantastic make-ahead dessert that always impresses. The balance of warm, spiced apples with cool, creamy pudding and sweet caramel is just wonderful. They’re perfect for potlucks, holiday gatherings, or anytime you need a delicious treat that feels a bit special. Don’t be afraid to mix and match, as these cups are very forgiving!
Serving Suggestions: Serve chilled, either right after assembly or a few hours later. A dollop of whipped cream and an extra drizzle of caramel on top make them even more decadent. They’re best eaten within a day or two for optimal texture, especially the crust.
Variations: For a different flavor, try using gingersnap cookie crumbs for the crust, or swap the vanilla pudding for butterscotch. A pinch of nutmeg or a splash of bourbon extract in the apple mixture can also add a lovely depth. If you don’t have vanilla wafers, graham crackers or shortbread cookies work well.
FAQs:
Can I make the components of these Caramel Apple Dessert Cups ahead of time?
Yes, you absolutely can! The spiced apples can be made a day in advance and stored in the refrigerator. The wafer crust can also be prepared a day ahead and kept in an airtight container at room temperature. The pudding can be made a few hours before assembly. It’s best to assemble the cups no more than a few hours before serving to keep the crust from getting too soft.
How long do these dessert cups last?
For the best texture, these Caramel Apple Dessert Cups are best enjoyed within 24 to 48 hours of assembly. The crust tends to soften over time, especially if stored with the wet apple and pudding layers. Store any leftovers in airtight containers in the refrigerator.
Caramel Apple Dessert Cups
A delightful no-bake dessert featuring layers of spiced apples, creamy pudding, and crunchy vanilla wafer crumbs, all drizzled with caramel sauce.
Ingredients
-
4 cups apples (peeled and chopped)
-
½ cup light brown sugar
-
1 tsp cinnamon
-
2 cups vanilla wafer crumbs
-
¼ cup salted or unsalted butter (melted)
-
1 pkg instant vanilla pudding mix (3.4 ounces)
-
1 cup milk
-
⅓ cup salted caramel sauce
-
1 ½ cups heavy cream
-
additional caramel sauce for garnish
Instructions
-
Step 1
In a medium saucepan, combine the chopped apples, brown sugar, and cinnamon. Cook over medium heat until the apples are tender, about 8-10 minutes. Let cool slightly. -
Step 2
In a bowl, mix the vanilla wafer crumbs with the melted butter until well combined. Press a layer of this mixture into the bottom of individual dessert cups or a serving dish. -
Step 3
In a separate bowl, whisk together the instant vanilla pudding mix and milk until thickened, following package directions. Stir in ⅓ cup of salted caramel sauce. -
Step 4
In another bowl, whip the heavy cream until stiff peaks form. Gently fold the whipped cream into the pudding mixture. -
Step 5
Layer the cooled apple mixture over the wafer crumb base in the dessert cups. -
Step 6
Spoon or pipe the caramel pudding mixture over the apple layer. -
Step 7
Drizzle with additional caramel sauce for garnish. Chill for at least 1 hour before serving.
Important Information
Nutrition Facts (Per Serving)
It is important to consider this information as approximate and not to use it as definitive health advice.
Allergy Information
Please check ingredients for potential allergens and consult a health professional if in doubt.